For downloading and installing eclipse IDE in your machine,
you can follow my privies post.
After installing eclipse IDE, at the top of the IDE, you can
find a Help menu and sub option Eclipse Marketplace… likes below.

Click on Eclipse Marketplace, and then you will get a one popup
window with search option like below

You can see in above screenshot, under search tab, find
option is available. You can type a word “maven plug-in” and will get maven
plug-in list like below.

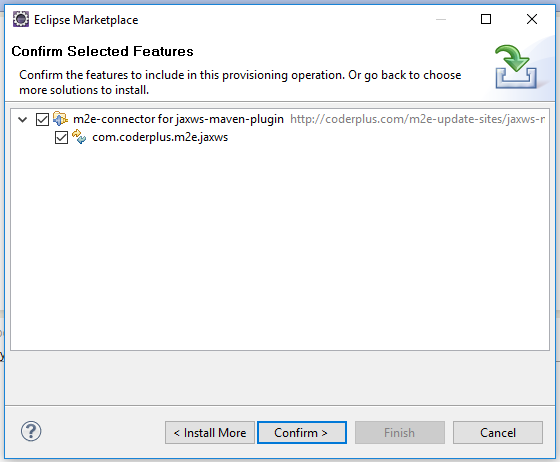
Choose any of the one plug-in and click on install button, immediately
will ask conformation like below, click on Confirm button
After giving confirmation, it will ask license agreement acceptance,
click on agree radio button and click on Install button.
After successful installations Eclipse will ask restarting
of eclipse IDE, click on ok.
For Cross verification:
After successful restart of eclipse IDE, you can find a “Maven
Project” option in File -> New ->
Maven Project like below

How to Install Maven plug-in in eclipse IDE?
 Reviewed by Gurugubelli Technologies
on
November 24, 2017
Rating:
Reviewed by Gurugubelli Technologies
on
November 24, 2017
Rating:
Reviewed by Gurugubelli Technologies
on
November 24, 2017
Rating:


No comments: